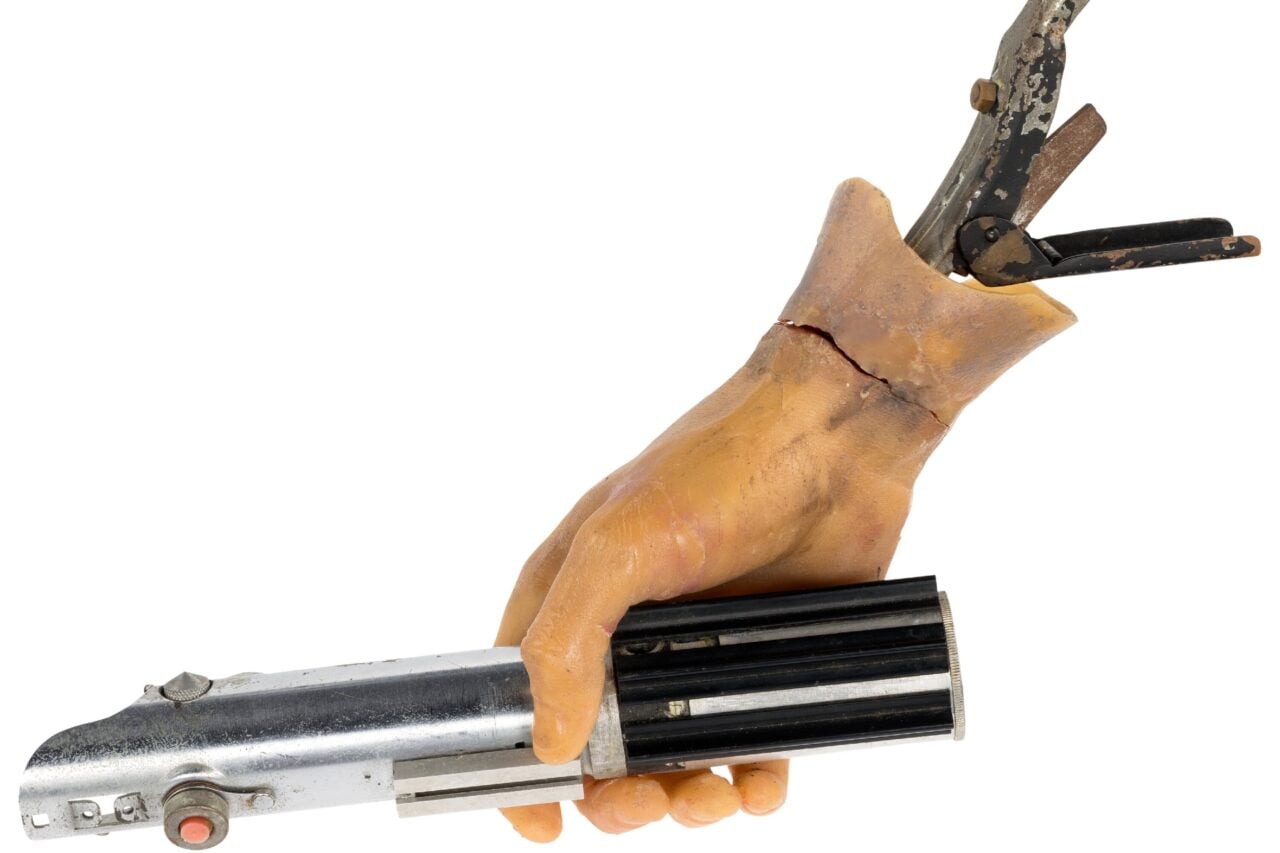
Over the course of this column, we’ve been looking into the armor and how it all fits together. This week, let’s talk about something that goes along with Stormtroopers: the famed E-11 Blaster Rifle.
There’s the long-running joke that Stormtroopers can’t hit anything. I have my own theories about their aiming in A New Hope, but that’s a conversation for another time. It’s not a hardware problem, and the background on how the guns were put together for the movies is a pretty interesting one.
For the production of the film, the crew used a Sterling Mark 4 L2A3 sub-machine gun, which was used between 1953 to 1994 before being replaced by the SA80.
As you can see, the gun was substantially modified for the film. The folding stock was folded forward, and the ammunition club was pulled out. A tank scope (various types were used, such as the M-38, M40 and M19) was placed on top of the gun (backwards), while a Hengstler Corporation industrial mechanical counter was placed next to the ammunition feed. Several fins were added along the sides, along with some extra greebles.
On the set, the guns were loud: the mechanical workings of the guns weren’t changed, and during production, they were loaded with blanks, so that the actor could react to the shots.
For costuming purposes, there’s several routes that people have gone to create their own blaster to carry along with their armor. The most accurate way is to actually purchase a Sterling submachine gun, deactivate it, and locate the original parts to add on. Others will create the gun from scratch in what’s called a ‘pipe’ build, or will purchase a kit made out of resin cast from the original parts.
Another, common route is to take a toy blaster and modify it. That’s what I’ve done in the past. You can get away with painting up a gun with black paint, and be done with it, but as I’ve worked on this project, I’ve realized that I want to do a bit more with it.
The first Stormtrooper blaster was released by Kenner in 1978 along with it’s first range of action figures. The toy blaster was similar to the blasters seen on screen, but with some notable differences: several boxes on the side had been removed (they stick out quite a bit), and the tip of the gun was slightly different.
https://gizmodo.com/the-groundbreaking-history-of-star-wars-toys-1706298670
Kenner retained the license to produce Star Wars toys until the mid-1990s; with declining sales, Hasbro took over the license, and re-released the blaster with some new changes. The folding stock was now gone, and the gun came in a white-grey with some black highlights, presumably so that it wouldn’t be mistaken for a real gun.
With these changes come the necessity to add on some parts. Because the guns have been fairly cheap to pick up (they’re now a bit more rare), with a coat of black paint, they become something that’s far easier to troop with than building a gun from scratch. For 501st Legion standards, that’s acceptable:
For 501st approval:
Based on a real or replica Sterling sub-machine gun, scratch-built, or a modified commercial toy Stormtrooper blaster.
For level two certification (if applicable):
Folding stock (does not need to function).
No ammo counter shall be present.
D-ring mounted on the rear.
Sterling based blasters have the correct M-38 or M-19 style scope.
The M-19 scope is preferred.
No power cylinders on the magazine housing.
Scratch-built, resin cast, Hyperfirm rubber cast blasters shall have a total of 6 T-tracks on blaster (leaving the lowest row on the magazine housing side uncovered).
If using the Hasbro E11 toy blaster, it is modified to have the correct number of T-tracks (6 total), with a lower row of open vent holes on the magazine housing side.
This is accomplished by covering the pre-existing rows of holes with T-tracks, then grinding off the lower integrated T-track on the magazine housing side, and drilling a new row of holes in its place.
For level three certification (if applicable):
Hasbro blasters are not allowed, even conversions.
In order to make the gun more accurate to what was seen in the films, you can modify the original Kenner or Hasbro guns: there’s a number of kits widely available on the internet that allow you to add on the various parts that have long since been lost to the toys from the film.
Unlike the rest of the armor that we’ve been talking about, these parts are cast from resin directly from the original parts. They’re nicely detailed, even retaining the original stamps, screws and names.
What’s included in one of these conversion kits is the stock, ammo counter (which technically shouldn’t be included on an ESB conversion, but whatever), cylinders, ammo holder, tip, D-ring and scope end.
The first step of this conversion process is to cut apart part of the original gun: the tip needs to go, as well as the front of the scope.
Some quick work with a rotary cutting tool takes care of those parts.
What’s kind of neat cutting this open is that you can see a bit about how this was assembled: the gun was essentially injection-molded in two parts, then snapped together.
I took the various resin parts and gave them a quick sanding: this would help with the actual bonding to the toy itself, but would help with paint.
Instead of using something like Goop or superglue like I’ve used for other parts of this build, the recommendation that I have is to use a 2-part epoxy, which sets quickly and is fairly strong. This wasn’t something that I’d used before, and I ended up using a small cup and spare scrap of plastic to mix the two in, using the plastic to spread the epoxy onto the parts that needed it.
http://www.homedepot.com/p/Loctite-0-85-fl-oz-Quick-Set-Epoxy-1395391/100371815
The first parts that went on were the rifle tip (which nicely has a hole in it, so I was able to preserve the LED tip that lights up when you pull the trigger.
After that, the ammo box and counter went on, as well as the folding stock, rails, and other bits.
I used rubber bands to hold some of the pieces together as they went on, which kept them firmly in place while the epoxy set. After an hour or so of work, the blaster was assembled.
The next step was painting: a can of glossy black Krylon spray paint did the trick, mostly. With the first couple of coats, the paint didn’t quite stick to the resin parts, but when I hit it with a matte black finish, it stuck just fine. With that coat acting as a primer, the final, glossy black coat finished off the job.
These are fairly minor details: over the last decade or so that I’ve been trooping with the 501st Legion, I’ve never really had any issues with having a regular toy blaster painted up: it’s light, which comes in handy when I’ve marched in parades, and I’ve got very few reservations about handing it off to someone posing with me for a picture.
These extra parts just continue to add to the illusion that it’s a real prop, and I have to say, it’s really neat to feel the extra heft and to see the extra parts stuck on there. It looks quite a bit cooler, and I’m happy that I’ve upgraded this small part.